On this video, we’ll info you via developing a bathroom organizer that mixes a freestanding rack for requirements with a tilt-out hamper for laundry
We may be compensated should you purchase by hyperlinks on our website. Our Evaluations Workforce is devoted to delivering reliable, aim, and unbiased opinions on residence providers.
A well-organized bathroom can transform your every day routine, making it further surroundings pleasant and satisfying. Among the many greatest strategies to realize that’s by making a custom-made storage decision that matches your desires. On this text, we’ll info you via developing a bathroom organizer that mixes a freestanding rack for requirements with a tilt-out hamper for laundry. This mission, demonstrated by Jenn Largesse from Residence One, results in a cultured and purposeful addition to any bathroom.
Provides and Devices Wished for a DIY Toilet Organizer
Sooner than diving into the event course of, gather the following provides and devices:
- (2) 1/2″ x 2″ x 4″ plywood
- (5) 1” x 2” x 8” boards
- 1 1/4″ and 1″ pocket screws
- Chain (non-compulsory)
- Spherical seen
- Drill/driver
- Face clamp
- Jigsaw
- Miter seen
- Piano hinge
- Pocket hole jig
- Rust-Oleum Chalked Paint in White Linen
- Sanding sponge
- Sq.
- Synthetic bristle brush
- Varathane Premium Fast Dry Wood Stain
- Varathane Triple Thick Polyurethane
- Wood glue
Preparing the Toilet Organizer Physique
The 1st step in creating your bathroom organizer is to rearrange the physique. This development will perform the backbone of your mission, supporting the cupboards and the hamper. Guarantee to acquire the decrease guidelines sooner than getting started.
Decreasing the Physique Objects
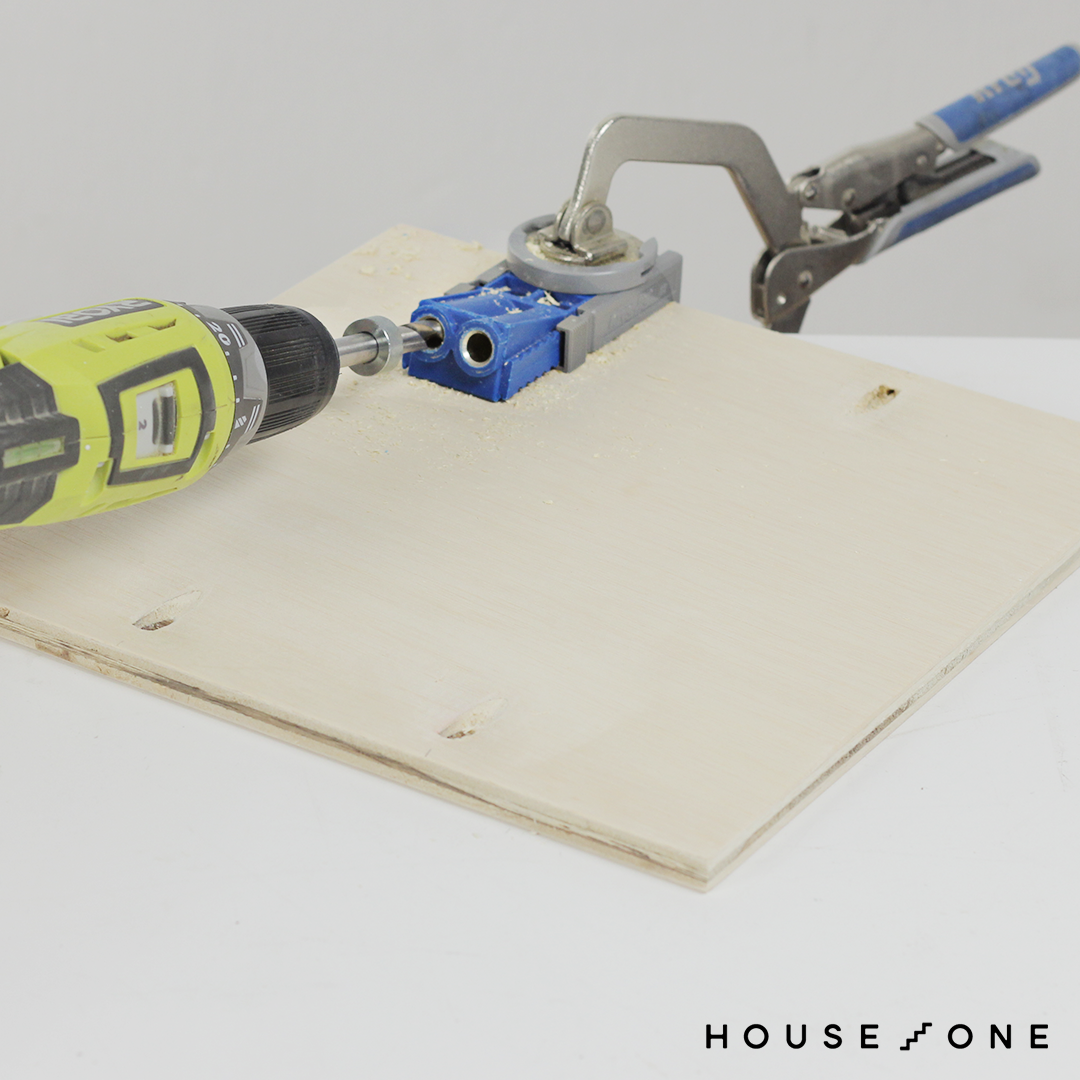
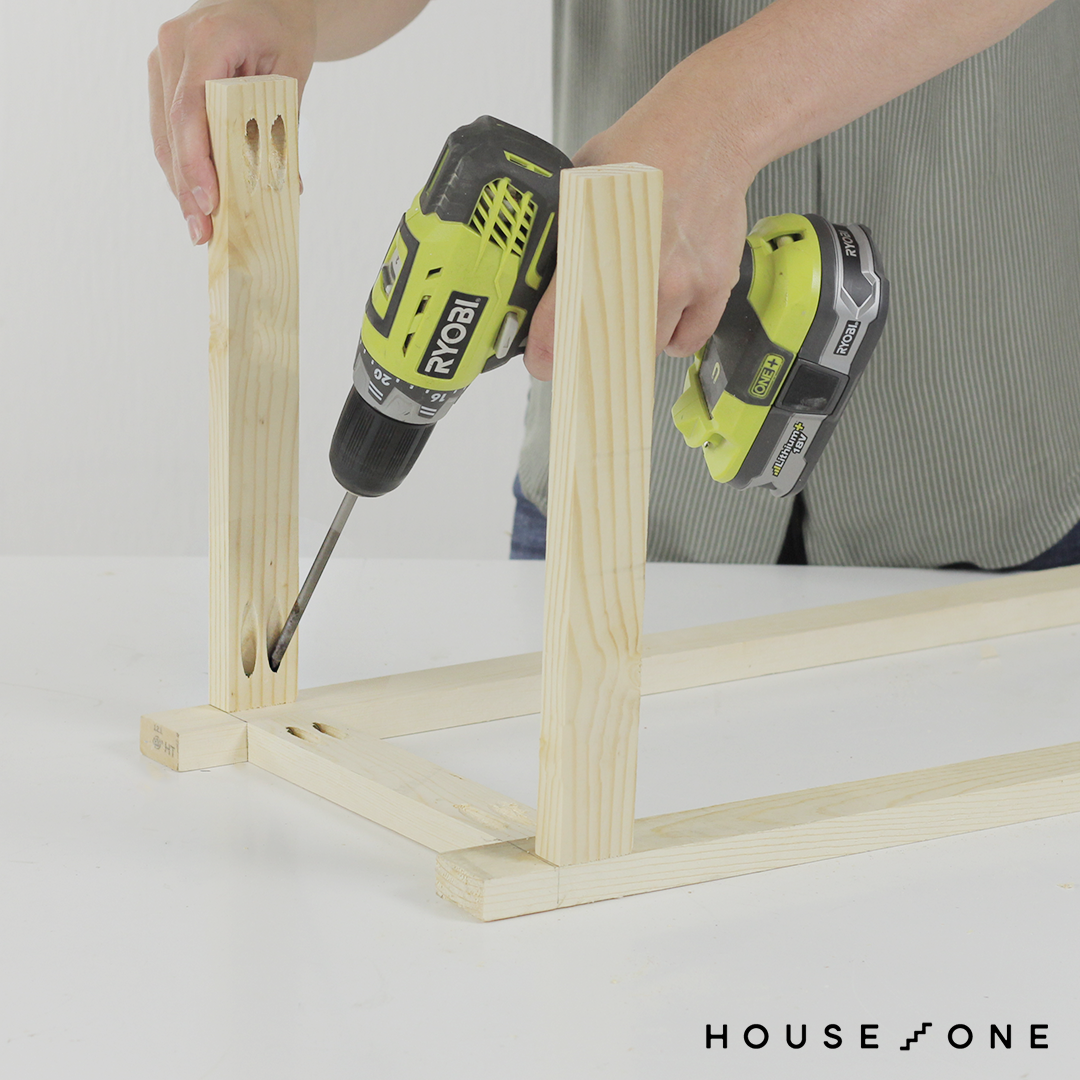
Use a miter seen to cut all the physique gadgets to the specified sizes. Set your pocket hole jig and drill to a 3/4-inch depth. Create two pocket holes in each end of the physique’s 1-inch by 2-inch entrance, once more, and side gadgets.

Prepping the Plywood Cupboards
Modify your pocket hole jig and drill to a 1/2-inch depth. Create three pocket holes alongside the side edges of each plywood shelf.
Marking Shelf Heights
Stack the physique legs side-by-side. Mark the height of the very best fringe of the side gadgets at 3 inches, 26 inches, and 39 inches. Discover that the fourth side piece must be flush with the very best fringe of the legs.
Assembling the Physique
With all the gadgets prepared, it’s time to assemble the physique of your bathroom organizer.
Establishing the Physique Sides
Observe these steps to assemble out the physique sides:
- Lay two 1-inch by 2-inch legs parallel in your work flooring.
- Place 4 1-inch by 2-inch side gadgets between them, aligning alongside along with your marked traces.
- Apply picket glue to the ends of the side gadgets.
- Use a face clamp to take care of the faces flush all through assembly.
- Protected the gadgets using a drill/driver and 1 1/4-inch pocket hole screws.
- Repeat this course of for the remaining legs and side gadgets.
Attaching Entrance and Once more Objects
Stand the front and back gadgets diploma with the very best and bottom side gadgets. Make sure the pocket holes face the similar route (in the direction of the once more of the assembly). Join these things using the similar methodology as a result of the side gadgets.
Ending the Physique Assembly
Place the front and back gadgets between the assembled sides of the physique. Use picket glue and 1 1/4-inch pocket hole screws to attach the front and back boards to the remaining legs.
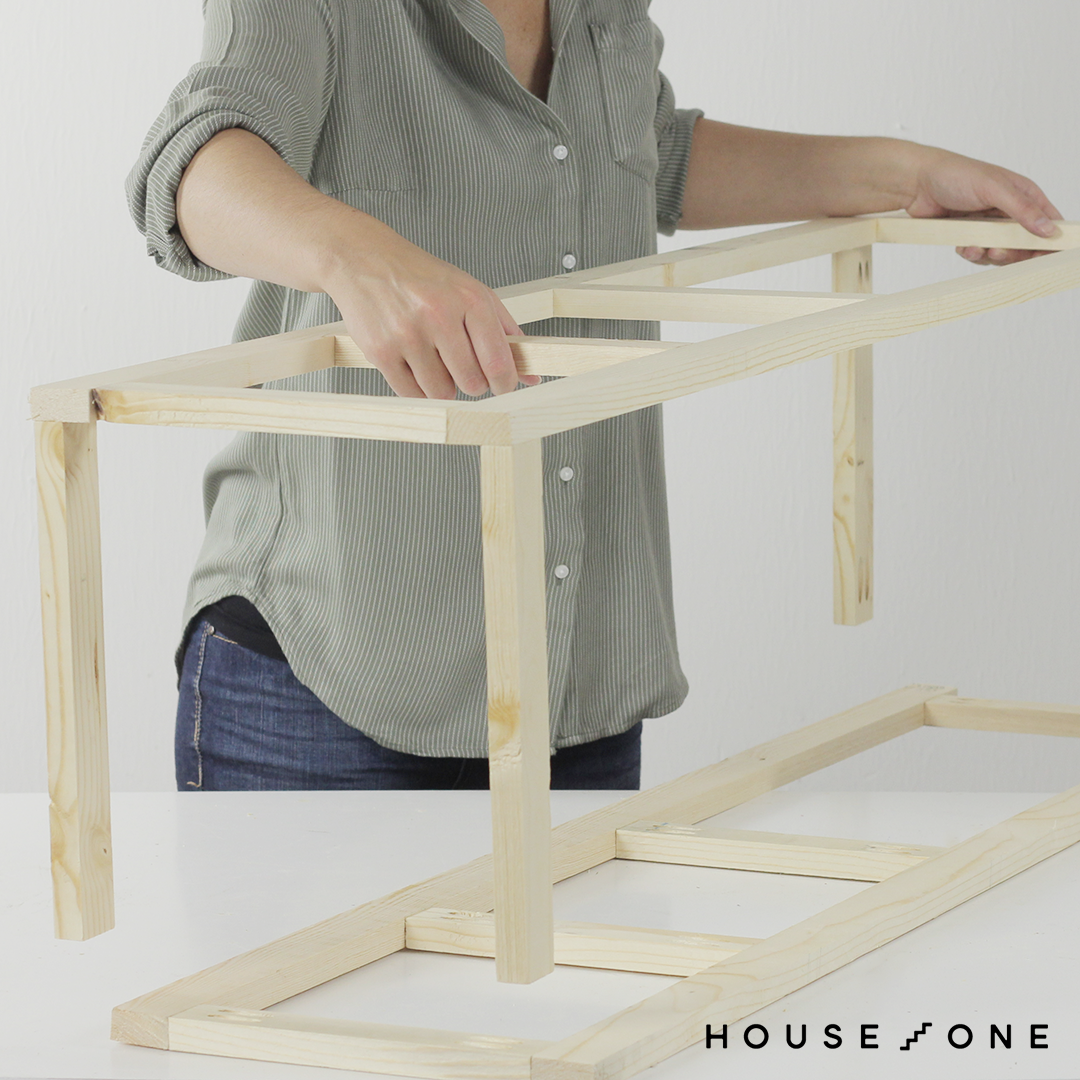
Largesse emphasizes the importance of appropriate alignment and secure connections when demonstrating these assembly strategies.
Together with Cupboards and Ending the Toilet Organizer
With the physique full, it’s time in order so as to add the cupboards and apply the ending touches to your bathroom organizer.
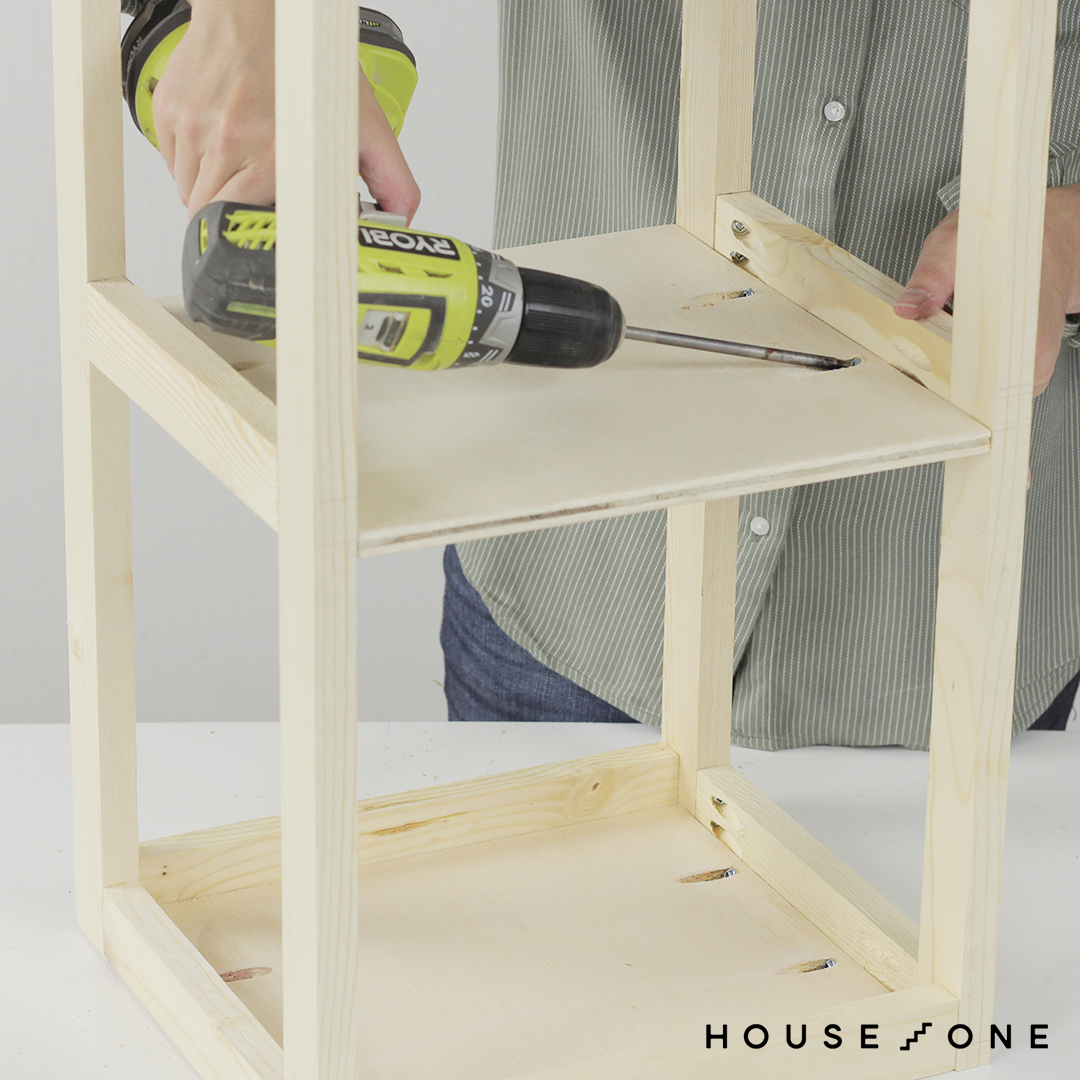
Attaching the Cupboards
Place the physique the opposite approach up in your work flooring. Place the cupboards flush with the ground of the side gadgets. Use a drill/driver to drive 1-inch pocket hole screws by the cupboards and into the side gadgets.
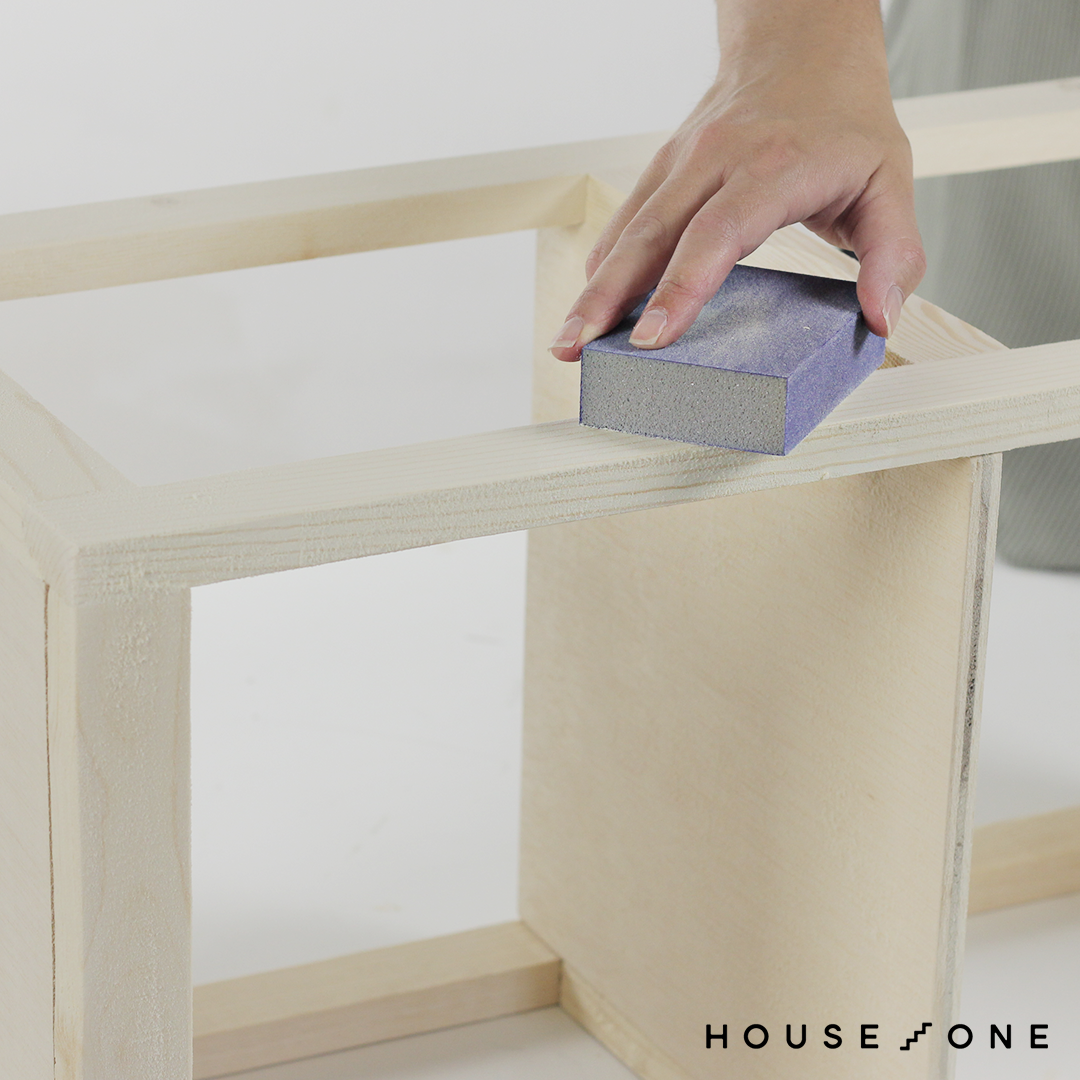
Preparing for Stain
Sand all components of the physique and cupboards fully. Wipe away any mud with a lint-free materials.
Staining the Physique
Proper right here’s how one can stain the physique:
- Using a lint-free materials, apply a coat of Varathane stain throughout the coloration of your choosing—we used Darkish Walnut.
- Work throughout the route of the picket grain for the best outcomes.
- Let the stain set for 2-3 minutes, then wipe away the excess with a transparent materials.
- Allow the stain to dry for not lower than an hour.

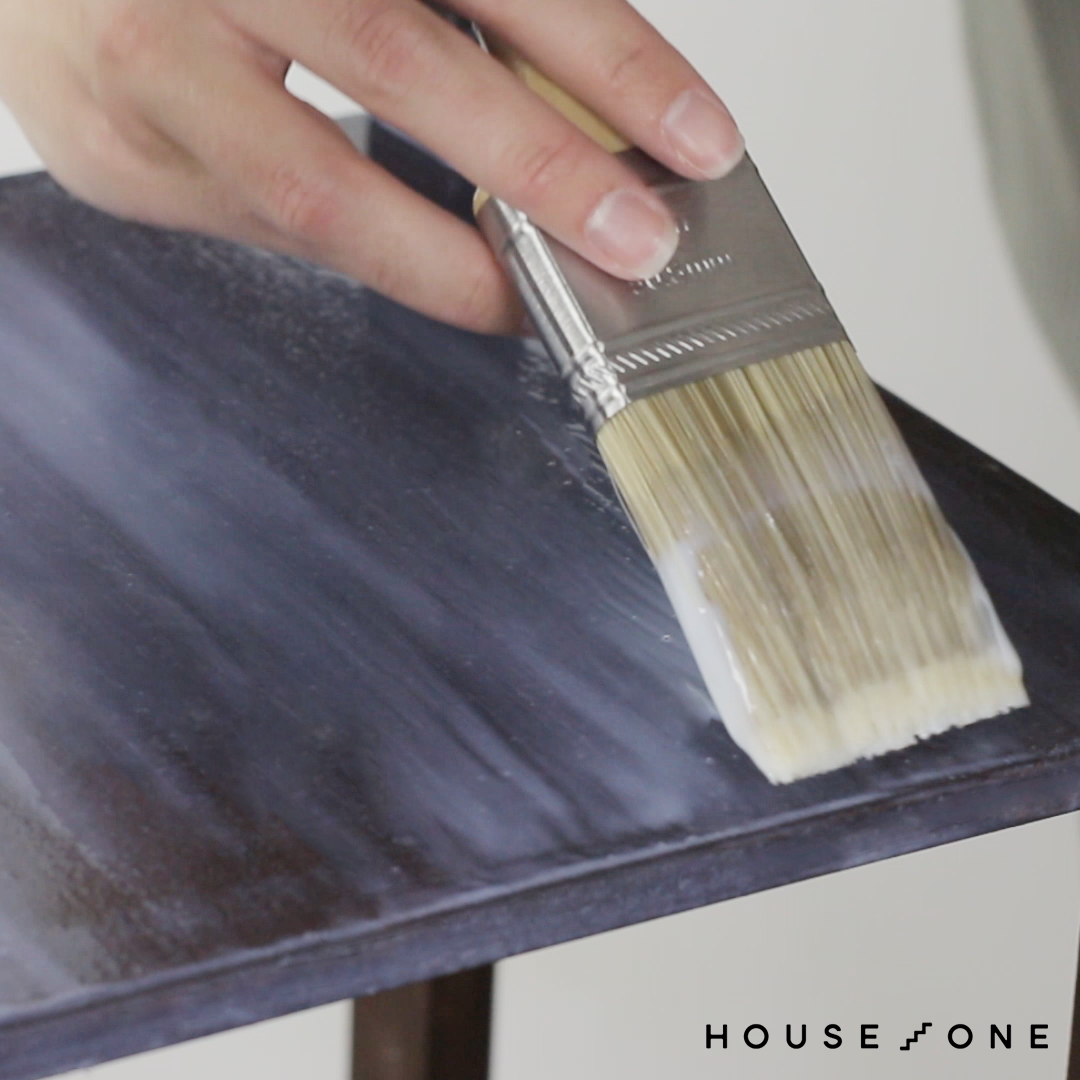
Making use of Polyurethane
To make use of the polyurethane, adjust to these steps:
- Use a synthetic bristle brush to make use of a liberal coat of Varathane Triple-Thick Polyurethane.
- Brush throughout the route of the picket grain.
- To cease drips, pull the comb all through the perimeters at a 45-degree angle to “tip-off” the top.
- Allow the polyurethane to dry totally sooner than coping with or using the organizer.
Establishing the Hamper
The lean-out hamper is a key attribute of this bathroom organizer, providing a useful and discreet technique to retailer laundry. Proper right here’s discover ways to assemble it.
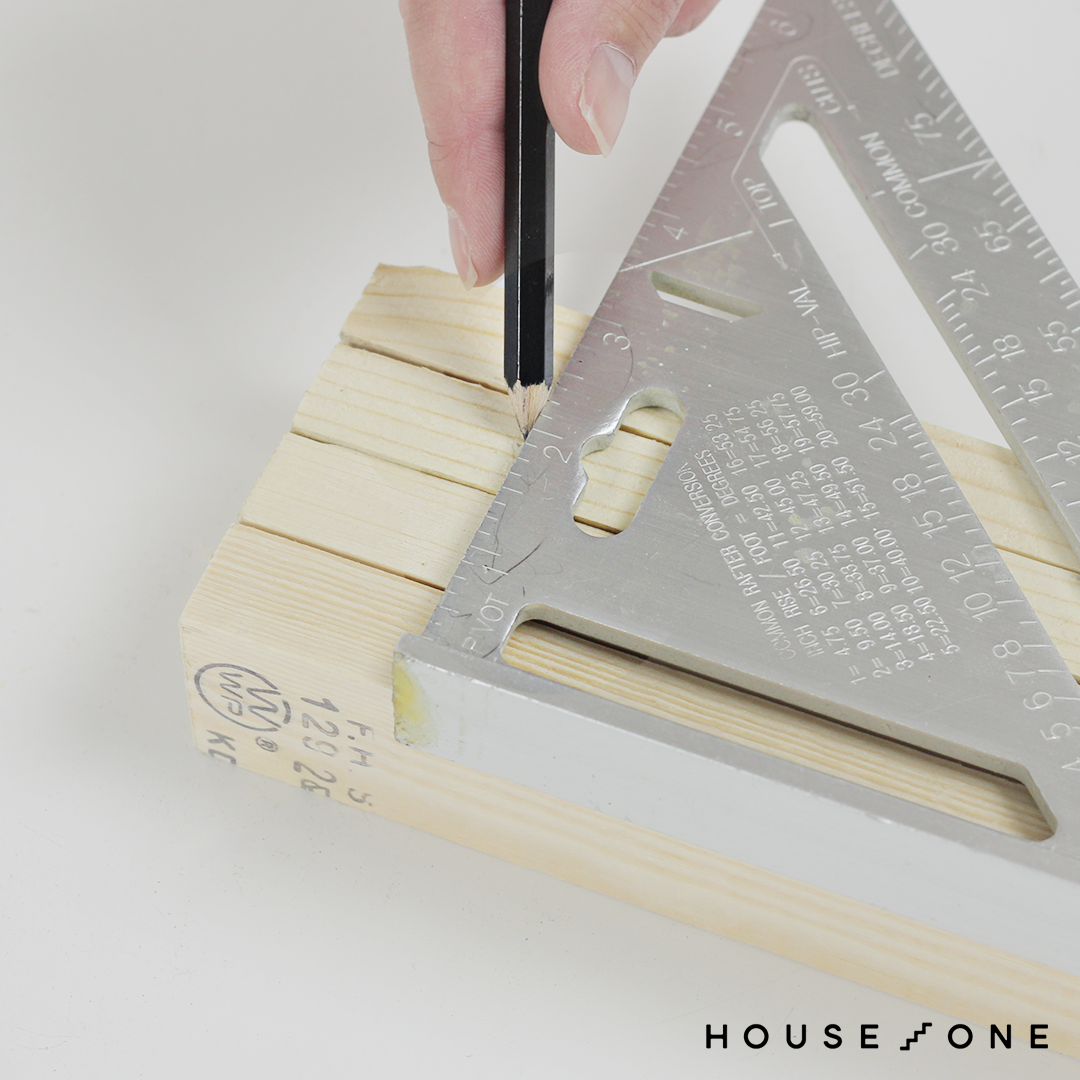
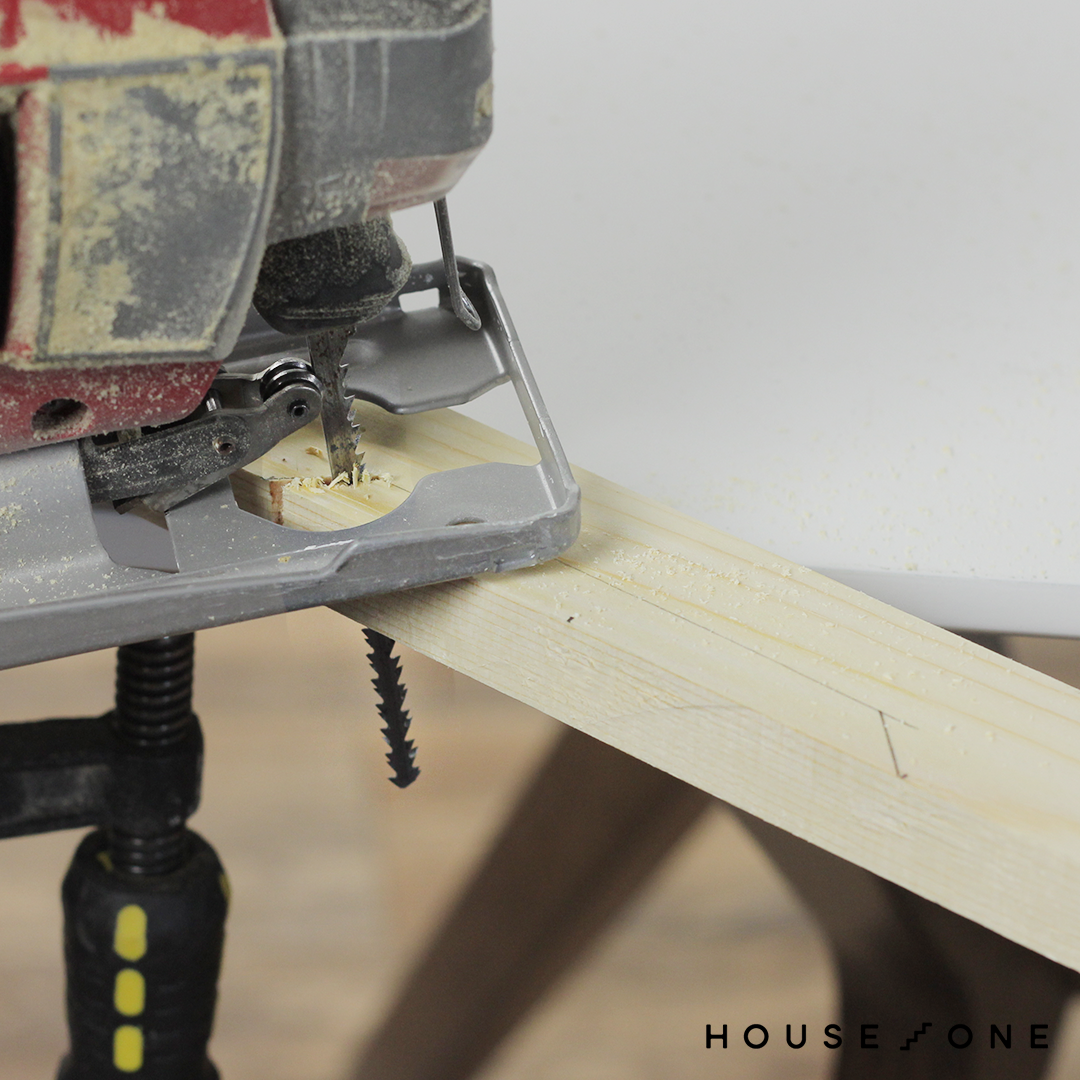
Creating the Hamper Door
Discover the 1-inch by 2-inch hamper door prime piece. Mark a 4-inch-wide by 3/4-inch-tall outline centered on the underside edge. If desired, angle the perimeters of the cutout at 45 ranges for a further accomplished look. Use a jigsaw to cut out the cope with.
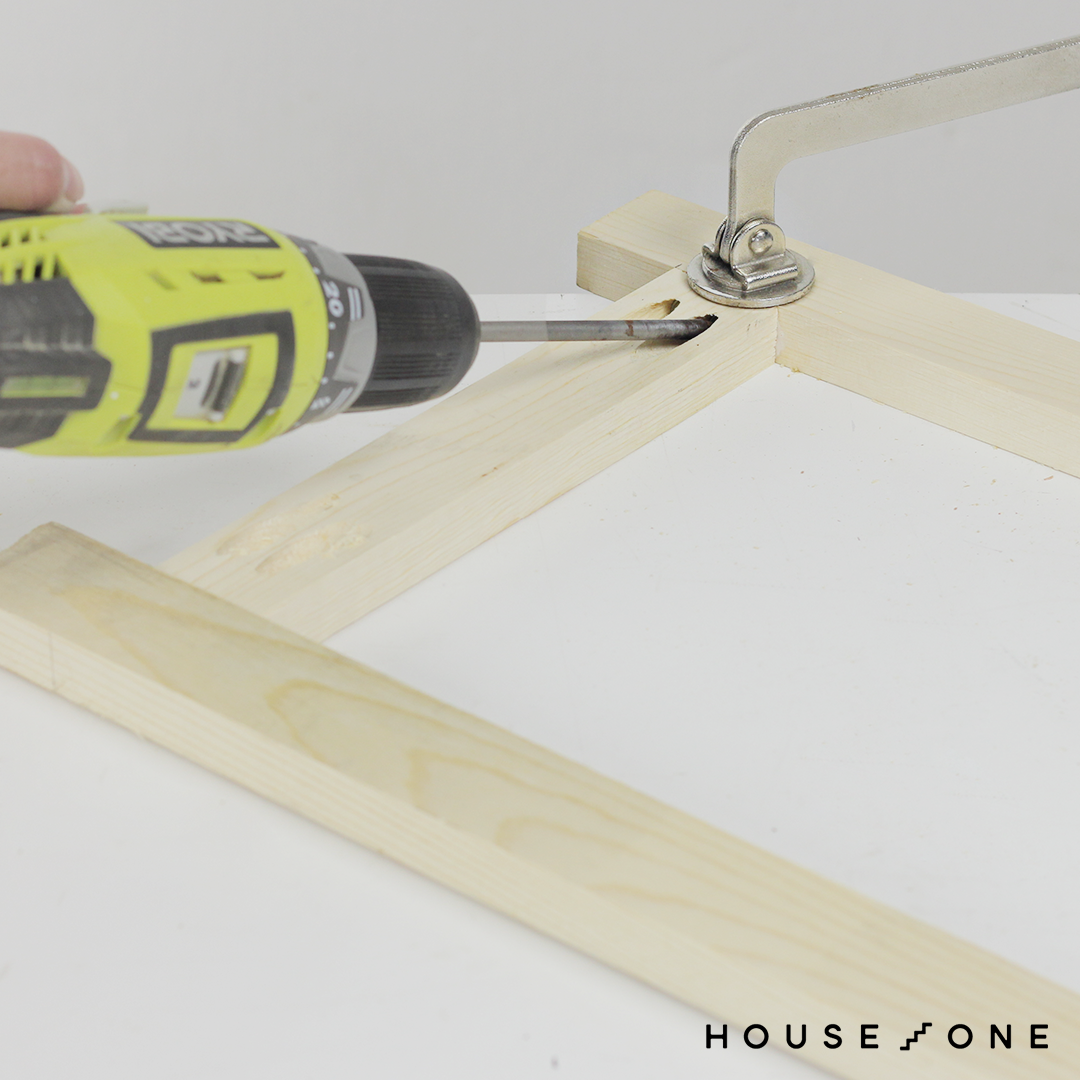
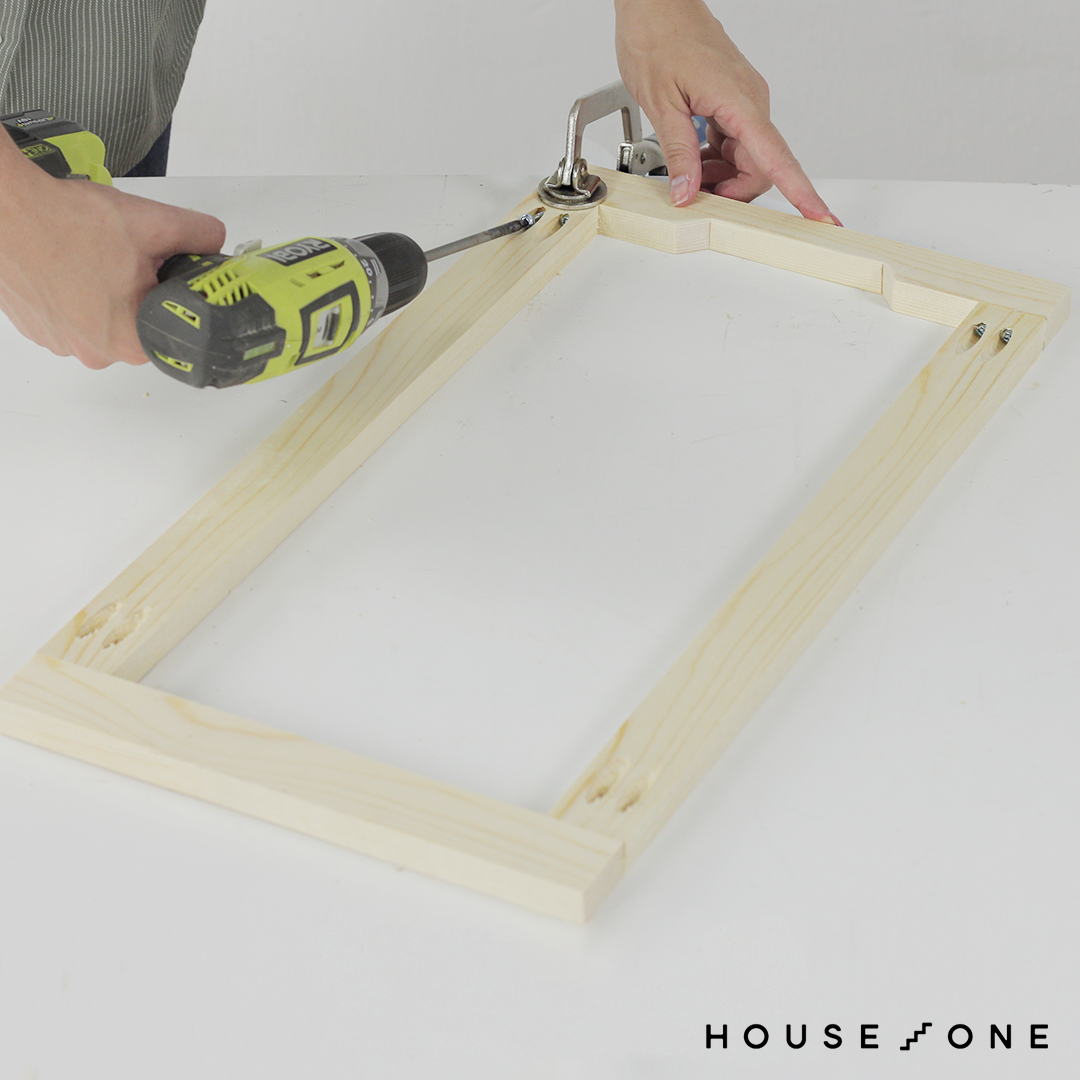
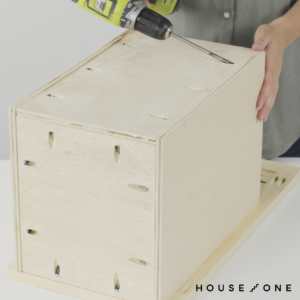
Assembling the Hamper Door Physique
Create two pocket holes in each end of the door’s side gadgets and apply glue to the ends of the side gadgets. Sandwich the edges between the very best and bottom gadgets. Use a face clamp to take care of the faces flush all through assembly, and secure the physique with 1 1/4-inch pocket hole screws.
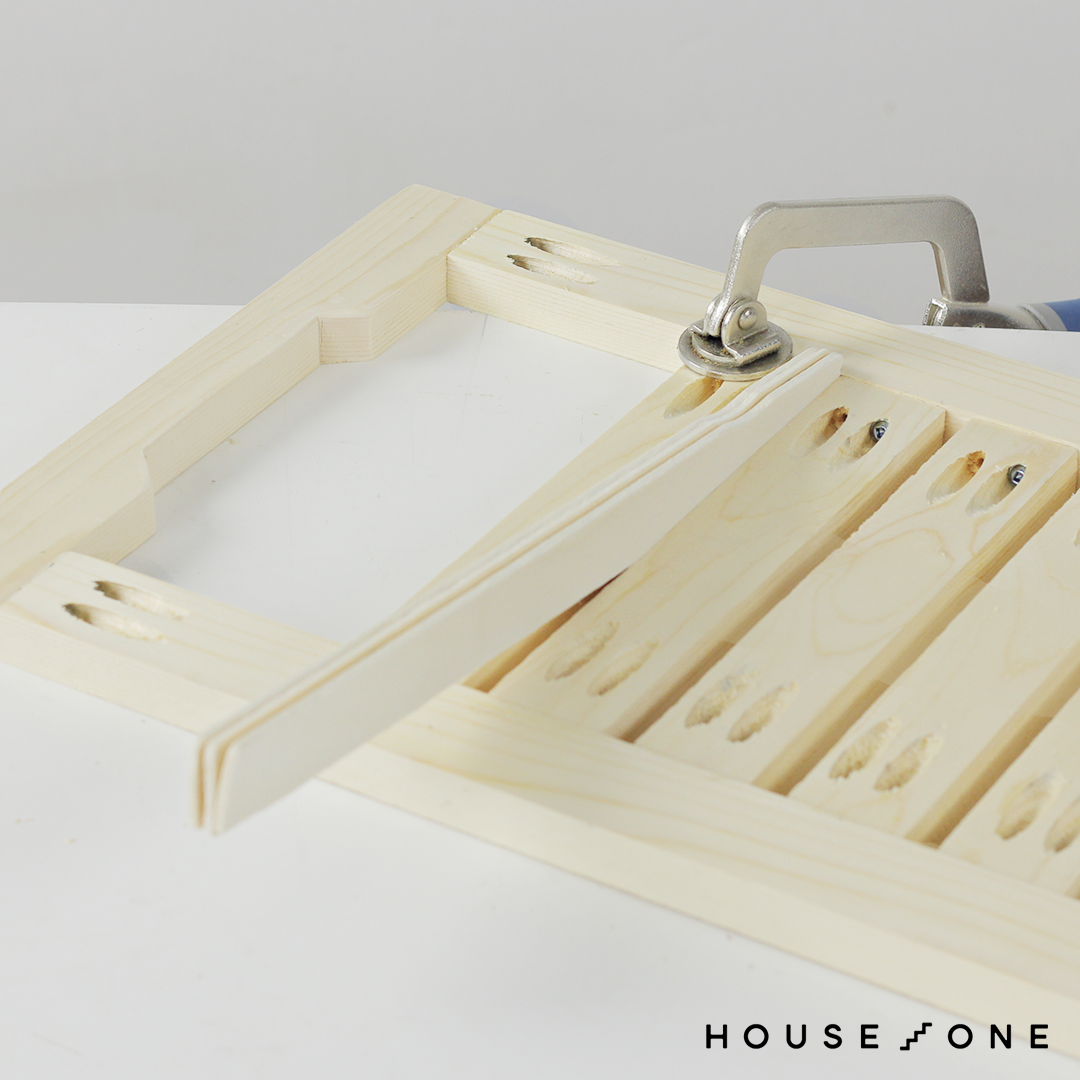
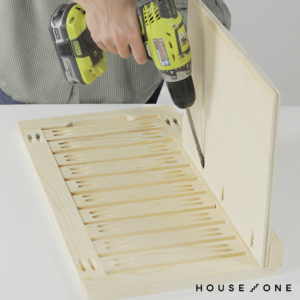
Attaching the Slats
Create two pocket holes in each end of the door’s slats. Place the slats between the edges, using paint sticks to create even spacing. Protected the slats with 1 1/4-inch pocket hole screws.
Ending the Hamper Area
Create three pocket holes alongside one side fringe of the hamper’s plywood sides. Join the edges to the door, guaranteeing they’re flush with the underside edge and three/4-inch from the side edge. Drill pocket holes alongside the edges of the hamper base and once more, then join the underside and once more between the edges using picket glue and 1-inch pocket hole screws.
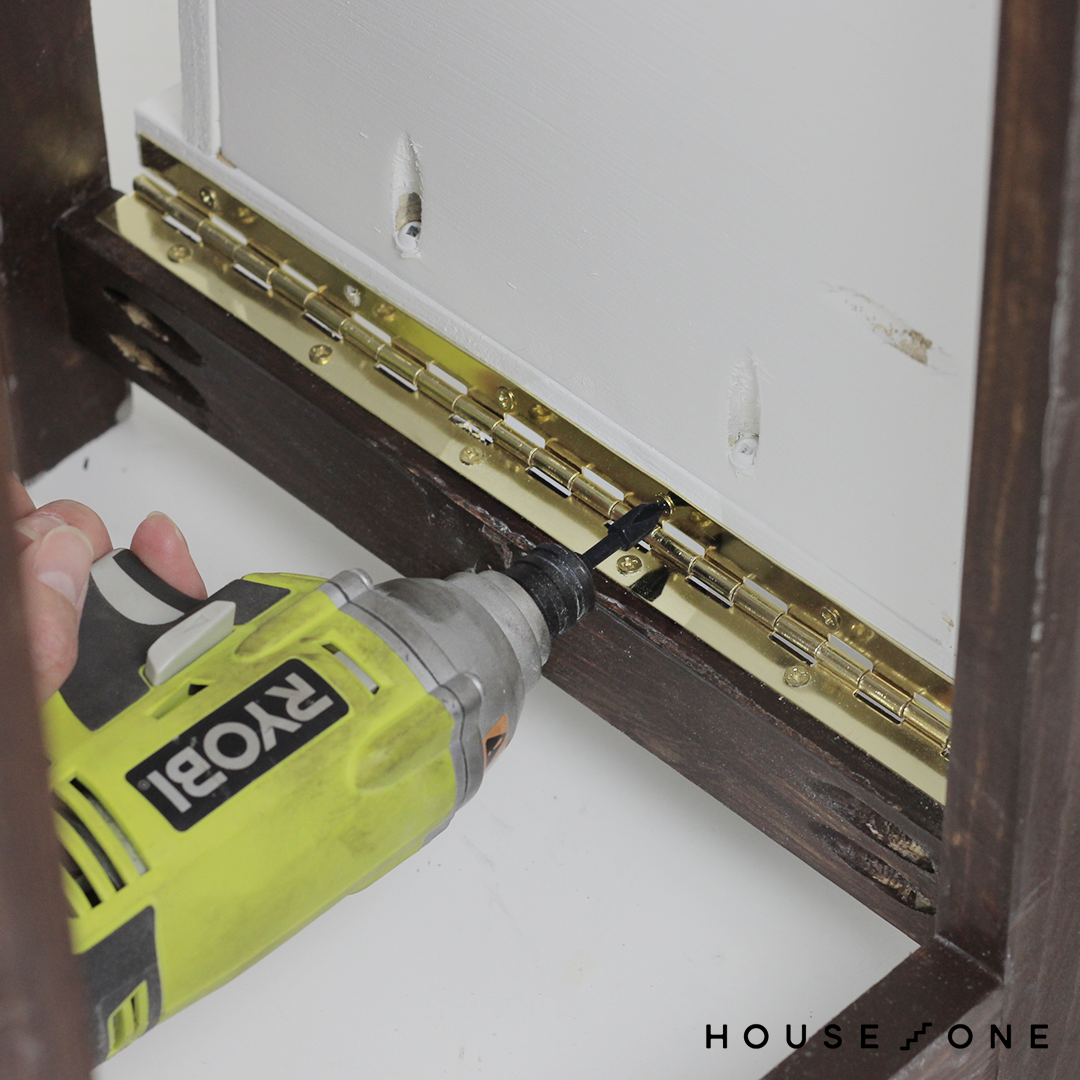
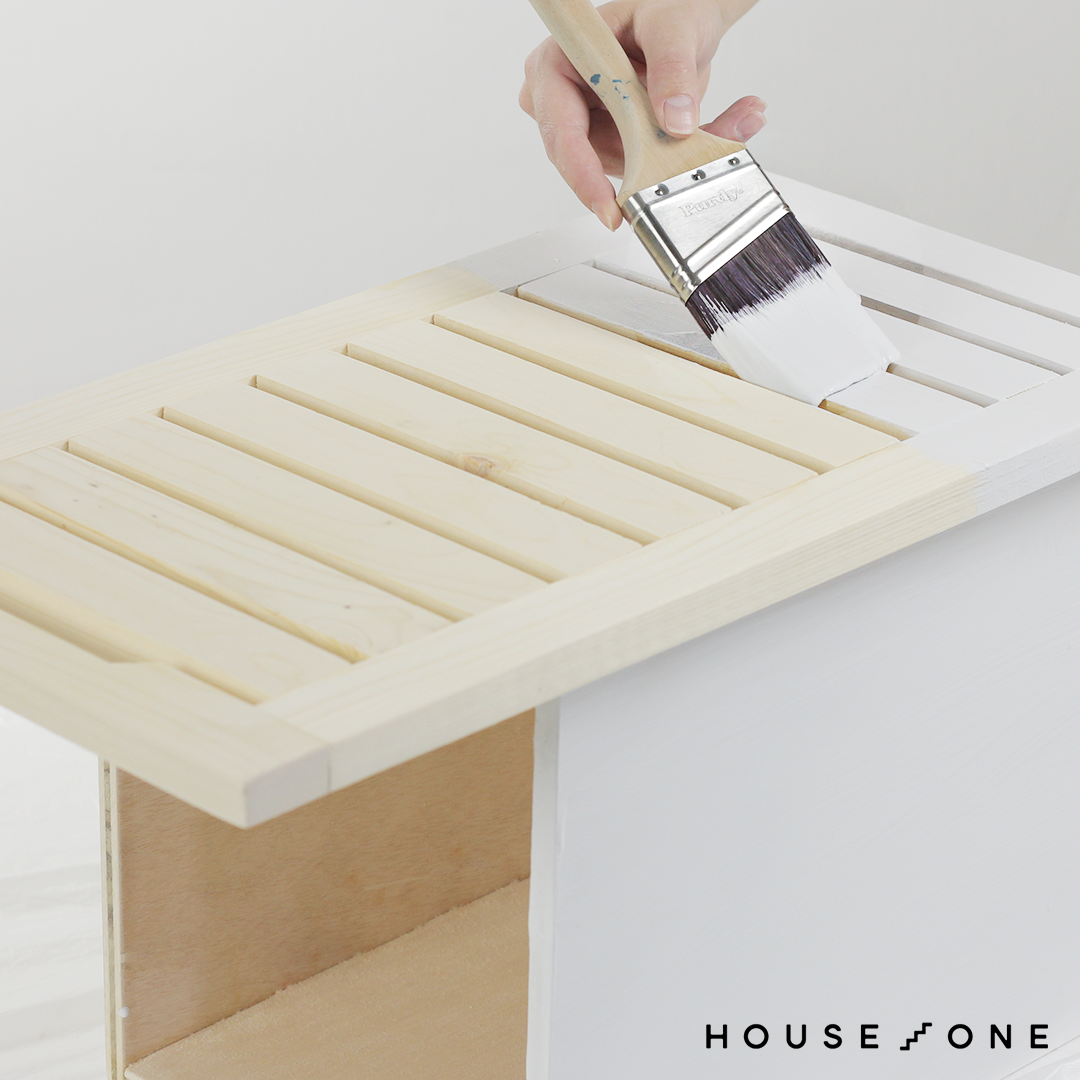
Ending Touches
The last word steps include painting the hamper and placing in it onto the physique. Sand the hamper fully and fill pocket holes with picket filler if desired. Then, apply two coats of Rust-Oleum Chalked Paint in White Linen to the hamper. Use a sponge brush between the slats to coat the gaps and forestall drips.
Arrange a piano hinge flush with the doorway fringe of the physique’s lower entrance piece. Place the hinge on the underside of the hamper, flush with its entrance edge, and secure it with screws. You would presumably moreover join a sequence to the side of the hamper and the physique to forestall it from opening too far.